How to deploy a Django project to Heroku
Project Overview
In this article, we’ll learn how to set up a production-ready Django project. This is the first article in the deploying Django series, and coincidentally, my first blog. We shall explore some of the security best practices built into Django - “the web framework for perfectionists with deadlines”.
Requirements
Before we get started, it is important that you have the following software installed and properly configured (where necessary).
- Python 3.6 or greater
- Pipenv
- Git
- Heroku CLI
I’ll encourage you to run the following commands in your terminal as a brief smoke-test
$ python3 -v
$ pipenv -v
$ git -v
$ heroku -v
You will also need a Heroku account, so head over to Heroku’s sign up page to create a free account, in case you don’t have one already.
Project setup
Install Django
- Create a new folder and make it your current working directory
$ mkdir django-hello-world $ cd django-hello-world - Create a virtual environment using
pipenv$ pipenv shell - Install Django in the virtual environment
$ pipenv install django
Start a new project
- Start a new Django project in the current directory
Note: The.at the end of thestartprojectcommand is what instructs Django not to create an additional project folder.$ django-admin startproject hello_world . - Check whether the Django project was set up correctly.
$ python manage.py test
Create the home page
- Create a new app called
pages$ python manage.py startapp pages - Register the app to the project settings
# hello_world/settings.py ... # Application definition INSTALLED_APPS = [ 'pages', # new 'django.contrib.admin', 'django.contrib.auth', 'django.contrib.contenttypes', 'django.contrib.sessions', 'django.contrib.messages', 'django.contrib.staticfiles', ] ... - Add tests for the homepage
# pages/tests.py from django.test import SimpleTestCase class HomePageTestCase(SimpleTestCase): def test_homepage_basic(self): response = self.client.get('/') self.assertEqual(response.status_code, 200) self.assertIn("Hello World!", response.content.decode()) - Create the home page view
# pages/views.py from django.http import HttpResponse def home_page(request): return HttpResponse("Hello World!") - Set up the URLconf for the home page
# hello_world/urls.py from pages.views import home_page urlpatterns = [ path('admin/', admin.site.urls), path('', home_page, name='home_page'), # new ] - Run the tests to confirm that everything was implemented correctly
$ python manage.py test
Preparation for deployment
Deployment checklist
Go through Django’s deployment checklist. You can get feedback on what to change by running automated checks with the following command:
$ python manage.py check --deploy
We shall only change the ALLOWED_HOSTS and DEBUG settings
to resolve the last two warnings.
Decouple config from code
It is important to separate configurations from code when developing applications, as outlined in the third factor of the 12 factor app methodology. We shall do so through the following steps:
- Add the following environment variables in a
.envfile in the current directory:ALLOWED_HOSTS=127.0.0.1,localhost DJANGO_DEBUG=False DJANGO_SECRET_KEY=_t(tfiwyy$!76v9o7z+dgw)$!sz52ak4p!(wdi=g5@*01$%0b&Note: Make sure there are no spaces in the
ALLOWED_HOSTSconfig. - Restart the virtual environment to load the environment variables
$ exit $ pipenv shell - Install Python decouple
$ pipenv install python-decouple - Replace hard coded configurations in
settings.pywith environment variables using Python-decouple# hello_world/settings.py ... from decouple import config, Csv ... # SECURITY WARNING: keep the secret key used in production secret! SECRET_KEY = config('DJANGO_SECRET_KEY') # SECURITY WARNING: don't run with debug turned on in production! DEBUG = config('DJANGO_DEBUG', cast=bool, default=False) ALLOWED_HOSTS = config('ALLOWED_HOSTS', cast=Csv()) ...
Gunicorn
“Gunicorn is a Python WSGI HTTP server for UNIX” - gunicorn docs. That’s a lot of information in a single sentence. Let me try to break it down for you.
When we created the project using the startproject command,
Django created a wsgi.py file for us, that defines a WSGI callable.
Django, like many other Python web frameworks, uses the
Web Server Gateway Interface
to communicate with the server.
We’ll simulate a production set-up by running our application locally using gunicorn, since that’s what Heroku recommends for running Django applications.
Note: Since gunicorn is meant for UNIX based systems, it won’t work on Windows.
- Install
gunicorn$ pipenv install gunicorn - Run the web application locally using
gunicorn$ gunicorn hello_world.wsgi -
Open
localhost:8000in your browser to see the running application. -
End the gunicorn process using
Ctrl + C(Cmd + Con Mac). - Create
Procfileand add the following line to it:web: gunicorn hello_world.wsgi --log-file -According to the Heroku documentation,
Procfileis used to explicitly declare your application’s process types and entry points.
Version control
- Create a
.gitignorefile and add the following content into it:# SQLite database *.sqlite3 # file containing environment variables .envNote: This is an important preparation for the next step.
- Start a new
Gitrepository and check the status of the new repository$ git init $ git status - Commit the changes
$ git add .
$ git commit -m “Prepared the Hello World project for deployment”
Deployment
- Authenticate the Heroku CLI
$ heroku login - Create a new Heroku app
$ heroku create - Add all environment variables to the Heroku app
# example $ heroku config:set DJANGO_DEBUG=False- Set a different secret key from the one we used for local development and keep it secret - it is a secret key after all. You can use a secret key generator such as djecrety.
- Add the domain of your Heroku app in the production
ALLOWED_HOSTSenvironment variables.$ heroku apps:info - Disable collection of static files by Heroku during deployment.
We do this since we haven’t yet configured the
static files settings.
We shall do so in the next tutorial.
$ heroku config:set DISABLE_COLLECTSTATIC=1
- Deploy the project to Heroku
$ git push heroku master - Open the deployed application in your browser
$ heroku open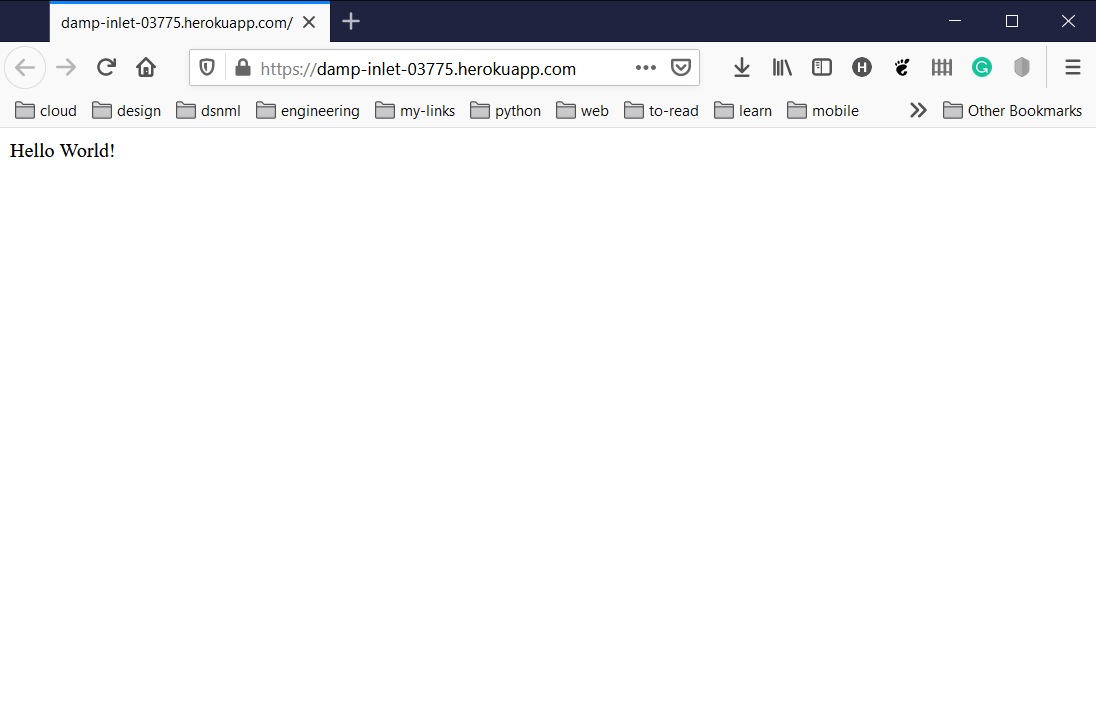 The deployed application
Your app is now live on the internet. Congratulations!!!